A solar water pump is only as good as its installation. The same pump that runs for years on one farm can fail in a season on the next—almost always because of a shaded panel, a cable that was tied too tight, a string voltage outside the controller's window, or a pump left sitting in sediment. This guide walks through a complete solar pumping system from site survey to first water, covering deep-well and surface pumps, MPPT controllers, panel mounting, wiring, dry-run protection and the commissioning checks that catch problems before they cost you a motor. Lead Pump builds systems from 220 W to 15,000 W for off-grid farms, homes, livestock, and villages; the principles below apply to all of them.
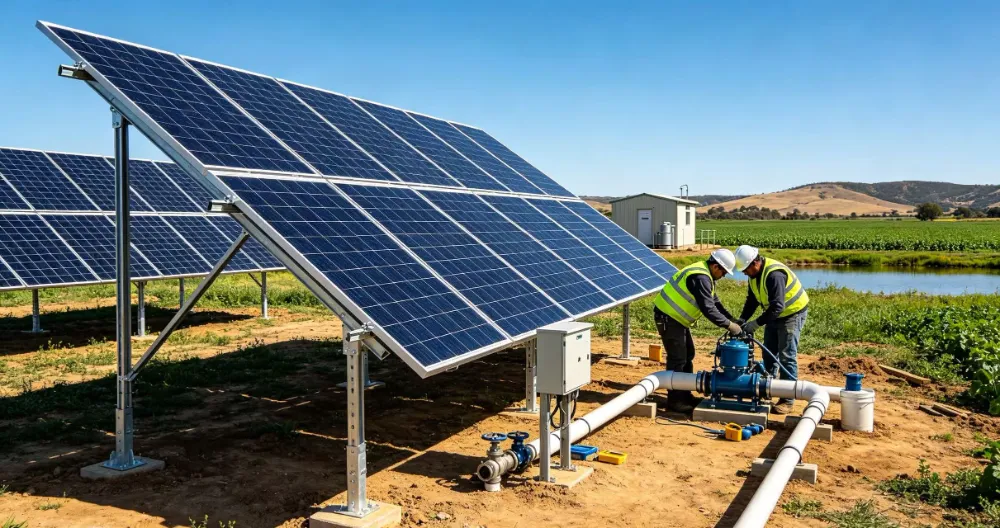
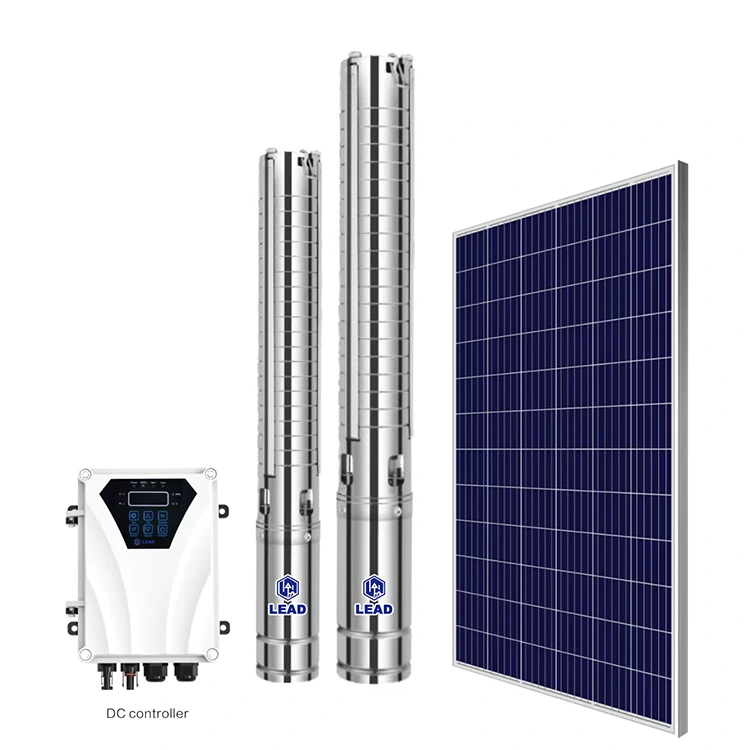
· Solar array—the panels that generate the DC power. Sized for the pump's power and the daily water volume you need.
· Mounting structure—ground mount, rooftop or pole; must hold the array rigid at the right tilt in high wind.
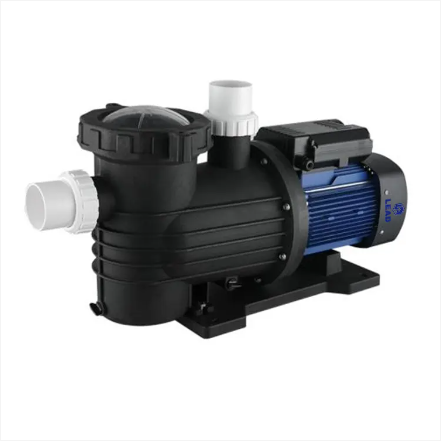
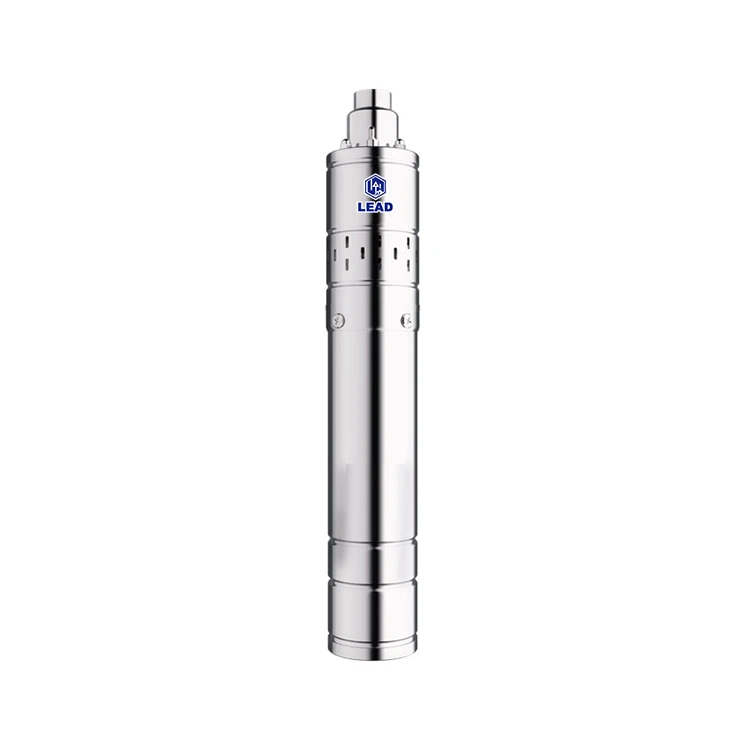
· Pump—a DC brushless pump for direct solar or an AC pump for grid/generator systems. Deep-well submersible types (3", 4", 6") go down the borehole; surface types (centrifugal, jet, self-priming) sit next to the water source.
· Controller—the brain of the system: an MPPT charge/boost controller for DC pumps or a VFD (variable frequency drive) for AC pumps. It tracks the array's maximum power point, protects against dry running and adjusts speed to the available sunlight.
· Cables and connectors—DC-rated cable and MC4 connectors for the panel side; correctly sized pump cable down the well.
· Water system—riser pipe, discharge pipe, check valve, storage tank, and level sensors or float switches that tell the controller when the tank is full or the well is dry.
· Optional backup—battery bank, AC mains or a diesel generator for hybrid systems that must run regardless of weather.
Most solar water pumping systems do not use batteries at all: the water in the tank is the energy storage, and the pump simply runs faster when the sun is strong. That is why sizing the tank and the array correctly matters more than any single component.
Half an hour with a tape measure, a bucket and a notebook prevents most installation failures. Record the following before ordering anything:
|
What to check |
Why it matters |
How to measure |
|
Static and dynamic water level |
Sets the true pumping head and confirms the well can supply the flow |
Dip the well before and while pumping |
|
Well / borehole diameter |
Decides whether a 3", 4", or 6" pump fits—allow 10–15 mm clearance |
Calipers or a bore gauge |
|
Daily water requirement |
Sizes the array and tank, not just the pump |
People, livestock, irrigation area |
|
Total head (vertical lift + pipe friction) |
The single biggest factor in pump selection |
Lift + drop + tank height + friction loss |
|
Available sunshine hours |
Array sizing: fewer sun hours means more panels |
Local solar resource data |
|
Panel mounting space, tilt and shadow |
Shading can cut output by half and stop a DC pump |
Compass, tilt angle, walk the site at different hours |
|
Distance pump → controller → array |
Long runs need thicker cable to keep voltage drop under control |
Tape measure both runs |
|
Water quality (sand, iron, salinity) |
Sandy water wears pumps; salty water needs the right materials |
Bucket test, local knowledge, lab test if unsure |
|
Power supply available |
Off-grid, generator or mains decides DC, AC or hybrid |
Ask the owner; check voltage and stability |
|
Security and flooding risk |
Controllers and arrays must be above flood level and tamper-resistant |
Site inspection |
Deep-well (borehole) submersible pumps:
· Check the borehole is straight and free of debris, and that the pump's outside diameter clears the casing by at least 10–15 mm. A pump jammed halfway down is the most expensive installation mistake there is.
· Attach a stainless steel safety rope to the pump's lifting eye. The rope carries the weight—never the cable, and never a plastic hose alone.
· Assemble the riser in the pump's thread size (use PTFE tape, not excessive force).
· Fix the pump cable to the riser with cable ties every 1.5–2 m. Leave a little slack so the cable is not stretched, and never crush it against the pipe—damaged insulation lets water into the motor.
· Leave at least 1 m of clear water below the pump intake. A pump sitting in sediment grinds sand through its stages and wears out in months.
· Lower slowly and steadily. Do not drop or jerk the pump, and do not let it spin as it goes down.
· Fit the water-level / dry-run sensor cable alongside the riser and leave enough length to reach the controller.
Surface pumps (centrifugal, jet, self-priming):
· Set the pump on a firm, level, vibration-free base on dry ground — never in a flood-prone pit.
· Keep the suction pipe as short and straight as possible, with a foot valve (and strainer) at the bottom.
· Respect the suction limit: a self-priming jet pump lifts water from around 9 m practical depth; any deeper needs a submersible.
· Prime the pump body with clean water before first start on a suction-lift installation.
· In freezing climates, drain the pump and suction line after use or install it indoors.
· Tilt: set the array angle close to your latitude for the best annual yield—a shallow tilt (0–10°) suits equatorial regions, while higher latitudes benefit from a steeper angle (10–30°).
· Direction: face the array toward the equator—true south in the northern hemisphere, true north in the southern hemisphere.
· Shade: remove every source of shading, including wires, poles and growing trees. Even partial shading of one panel can bring a whole series string to a crawl.
· Airflow: leave a 10–15 cm gap behind the panels so heat can escape; hot panels produce less.
· Structure: use a rigid, wind-rated frame. In storm areas, allow the array to be tilted flat or removed before a cyclone if the mounting cannot take the wind load.
· String design: connect panels in series to reach the controller's voltage window and in parallel for more current if needed. Keep every panel in a string identical.
· Cable: use DC-rated solar cable, correct polarity, and MC4 connectors that are crimped properly—not twisted together. Fit a DC breaker or fuse close to the array.
· Grounding: bond the panel frames and the mounting structure to a proper earth electrode.
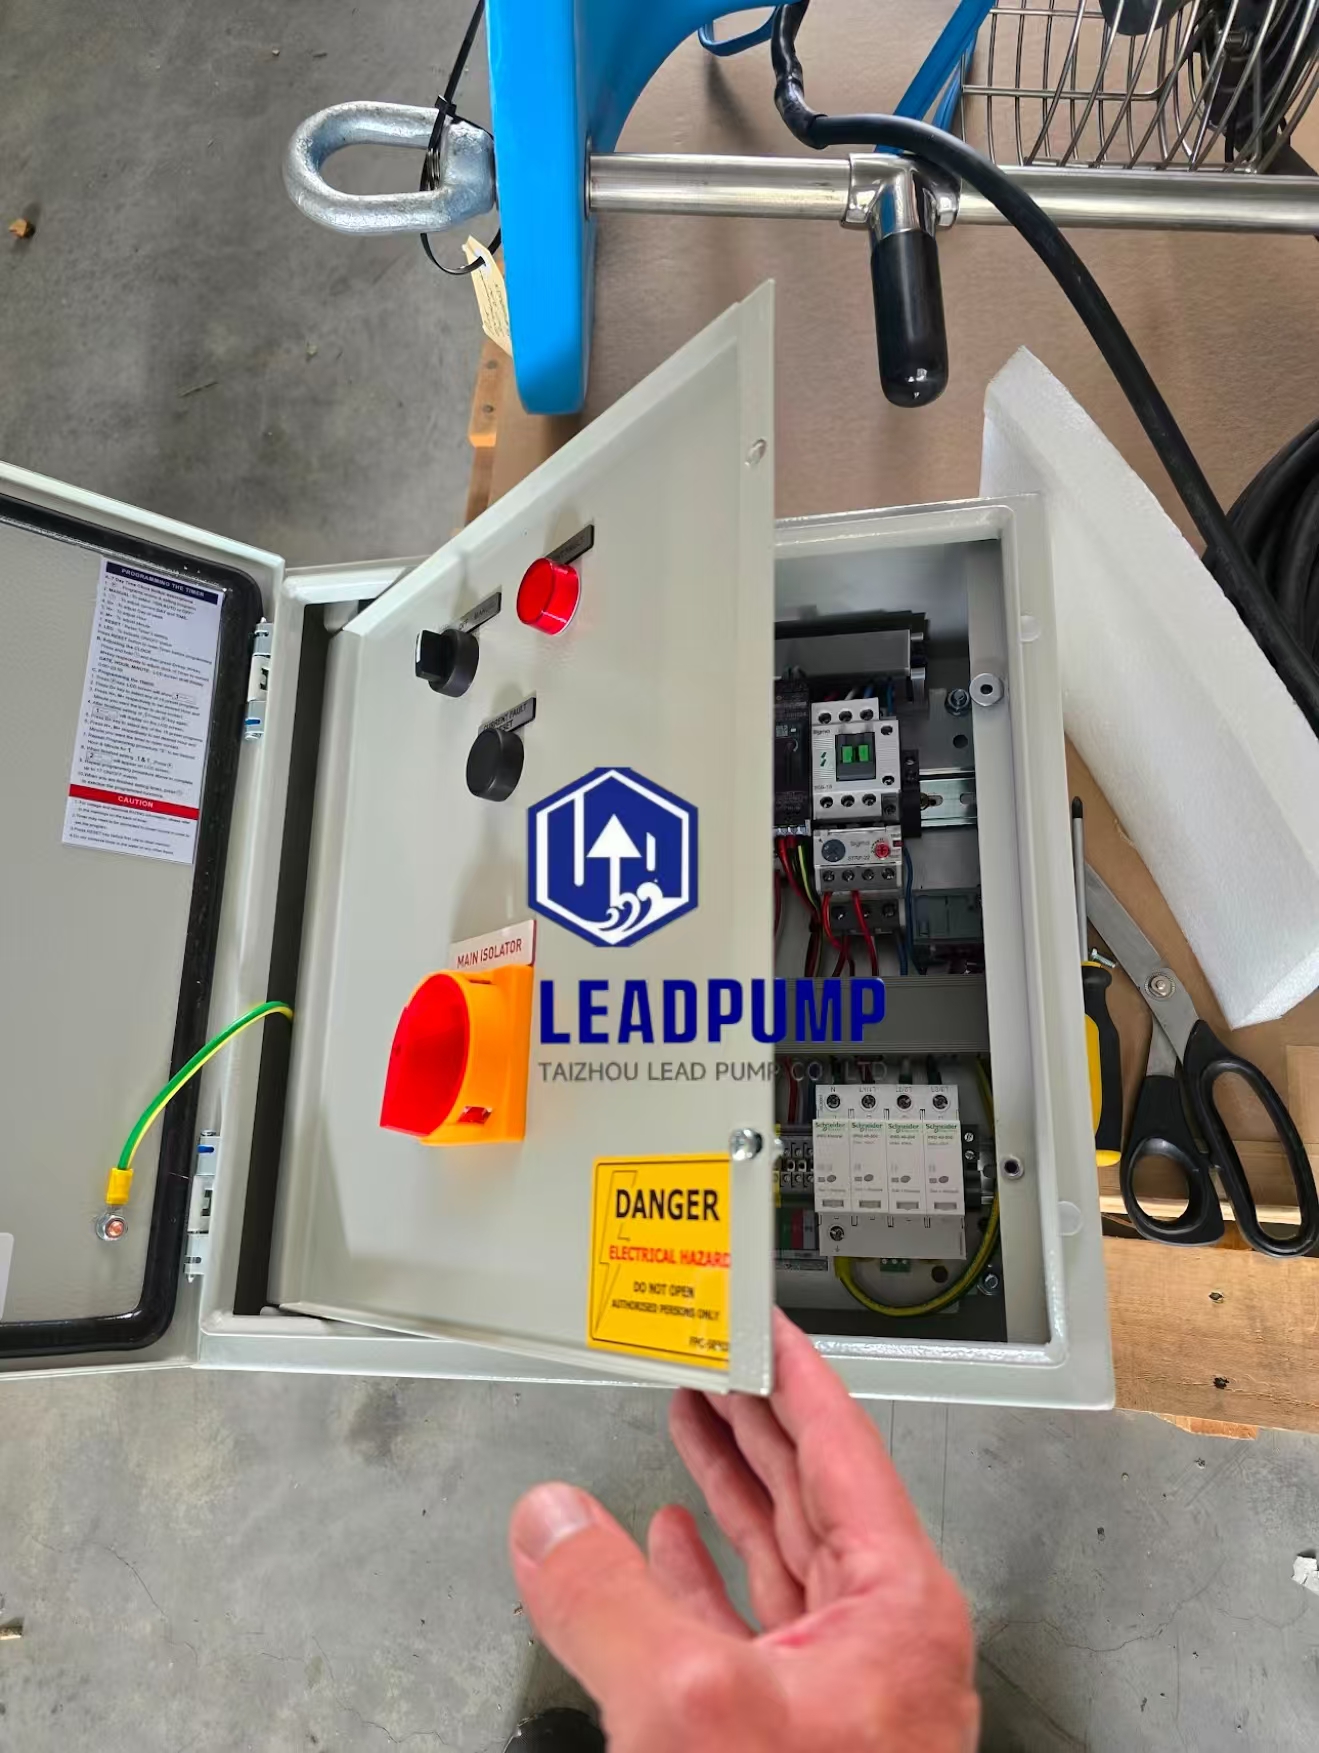
· Mount the controller on a shaded, ventilated, dry wall in an IP-rated enclosure, ideally with a small sun hood. Heat and water are the two fastest ways to destroy an MPPT controller.
· Follow the terminal drawing exactly: PV+ / PV− from the array on one side, the pump output (U/V/W for three-phase AC, or +/− for DC) on the other.
· Check polarity with a meter before connecting a DC pump—reversed DC polarity can destroy the controller instantly.
· Size the pump cable for voltage drop below about 3%; thick cable costs a little more and saves a lot of flow.
· Connect the level sensors: the dry-run / low-level probe stops the pump before the well runs dry, and the tank float switch stops it when the tank is full.
· Set the controller's parameters—minimum and maximum frequency (AC) or speed range (DC), dry-run sensitivity, and the restart time—following the manual for your model. Lead Pump supplies a wiring and parameter guide with every system.
· Never connect or disconnect the PV array while the system is running. Isolate first, then work.
· Earth the controller and the pump body as directed; in lightning-prone areas add surge protection.
· With the array isolated, confirm every connection is tight, dry and correctly polarised, and that the pump is fully lowered.
· Measure the array's open-circuit voltage and compare it with the controller's input window before powering up.
· Start on a sunny day and watch the first minutes: check the running current is within the nameplate range, listen for rubbing or gravel noise, and—for three-phase AC pumps—confirm rotation direction (swap any two phases if the flow is weak).
· Slowly open the discharge valve and watch the flow build as the controller tracks the sun. Record the flow at mid-morning, noon and late afternoon.
· Test the protections deliberately: lower the water level probe to prove the dry-run stop works, and lift the tank float to prove the full-tank stop works.
· Note the day's flow and pressure as the system's baseline—future maintenance is easy when you know what 'normal' looks like.
· Fit a check valve on the discharge line so water does not run back at night and make the pump restart into a head of water.
· Add a gate valve and a pressure gauge so flow can be trimmed and monitored.
· Pipe to a storage tank with a float valve, an overflow and a level indicator. Tank size should cover one to two days of demand so cloudy days do not leave you dry.
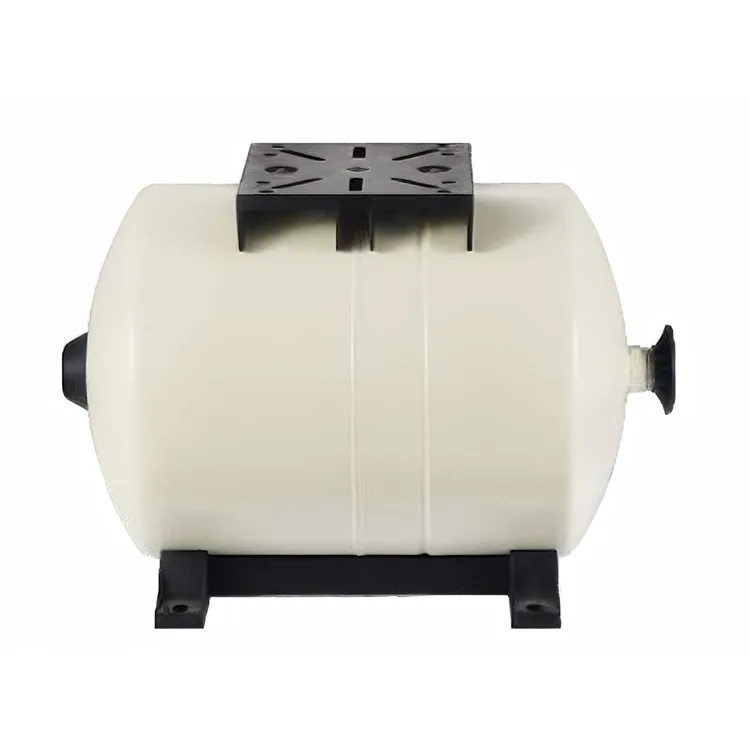
· Where pressure is needed at the tap, fit a pressure tank or expansion tank (Lead Pump's WVT, ET-LH, and CF series cover 8–500 L) to smooth the pump's start/stop cycle and protect the motor from short-cycling.
· If the water is sandy, fit a filter before the tank and flush it regularly.
· 1. Pump too large for the borehole—it jams on the way down.
· 2. Hanging the pump by its cable or hose instead of a steel safety rope.
· 3. Cable ties pulled so tight they cut the insulation and let water in.
· 4. Panels shaded, facing the wrong way or set at the wrong tilt.
· 5. String voltage outside the controller's MPPT window—the pump barely turns.
· 6. Reversed polarity on a DC pump.
· 7. Plugging or unplugging the array under load—arcing and burnt connectors.
· 8. Undersized cable—voltage drop steals flow.
· 9. No dry-run protection—the motor burns out the first time the well runs low.
· 10. Pump resting in sediment—sand eats the stages.
|
# |
Check |
Pass criteria |
|
1 |
Pump lowered with safety rope, sitting above sediment |
Weight on rope; ≥1 m clear water below intake |
|
2 |
Cable secured every 1.5–2 m, undamaged |
No crushed or stretched cable |
|
3 |
Array tilt, azimuth and shading |
Toward equator, tilt ≈ latitude, zero shade 9 am–3 pm |
|
4 |
Array open-circuit voltage |
Inside the controller's input window |
|
5 |
Polarity and tightness of all terminals |
Correct, dry, torqued |
|
6 |
Grounding of frames and controller |
Continuity to earth electrode confirmed |
|
7 |
Dry-run and tank-full stops |
Both tested and working |
|
8 |
Running current and rotation (AC) |
Within the nameplate, flow direction correct |
|
9 |
Flow at the tank |
Meets or exceeds the design figure |
|
10 |
Handover |
Baseline flow/pressure logged; manual handed to the owner |
Q: Do I need batteries with a solar water pump?
A: Usually not. The storage tank holds the water, so most systems run battery-free, which is simpler, cheaper and longer-lived. Choose a battery-backup or AC/DC hybrid system only if the pump must run outside daylight hours or through long cloudy spells.
Q: How deep can a solar submersible pump go?
A: It depends on the model. Lead Pump builds 3", 4" and 6" solar deep-well pumps for different borehole diameters and heads—give us your dynamic water level, required flow and well diameter and we will size the right one.
Q: How long does an installation take?
A: A small single-phase surface or shallow-well system can be up and running in a day. A deep-well system with a ground-mounted array typically takes one to three days, including wiring and commissioning.
Q: What maintenance does it need after installation?
A: Little. Check the panels for dust and shade, keep the strainer and filter clean, check the cable and connections before the rainy season, and confirm the dry-run and tank stops still work. Our solar pump maintenance and troubleshooting guide covers the details.
Q: The flow is lower than expected—what should I check first?
A: Work through these in order: shading on the array, the array's voltage at the controller, cable voltage drop, a partly closed or blocked valve, sediment in the strainer, then low-well conditions. Nine times out of ten the cause is on the panel or wiring side, not the pump.
Q: Do you provide installation support?
A: Yes. Every system ships with a wiring and parameter guide, and our engineers support installers by email and WhatsApp in Chinese, English and French.
Q: What is the warranty?
A: 2 years on the pump body and 1 year on the controller, with replacement of any faulty unit (FOB China, no questions asked).
· Sample orders: 1–5 units for testing.
· Wholesale: 50+ units per model.
· OEM: 50 units per model minimum, with customized branding, packaging and voltage/frequency options.
Taizhou Lead Pump Co., Ltd. is based in Taizhou, Zhejiang—China's core pump manufacturing region—with more than ten years of focus on pump R&D and production. Products cover 220 W to 15,000 W, including solar submersible deep-well pumps, solar surface pumps, screw pumps, centrifugal pumps, self-priming pumps, sewage pumps, fountain pumps and expansion tanks. All products carry CE, RoHS and ISO 9001:2015 certification.
Lead Pump holds local company accounts in Nigeria, Tanzania, Kenya, South Africa, Ghana and Cameroon, so African dealers can pay in local currency. Technical support is available in Chinese, English and French, with delivery in 15–25 working days.
Website: www.zjleadpump.com
Email: sales01@zjleadpump.com | WhatsApp: +86 195 6006 2010